


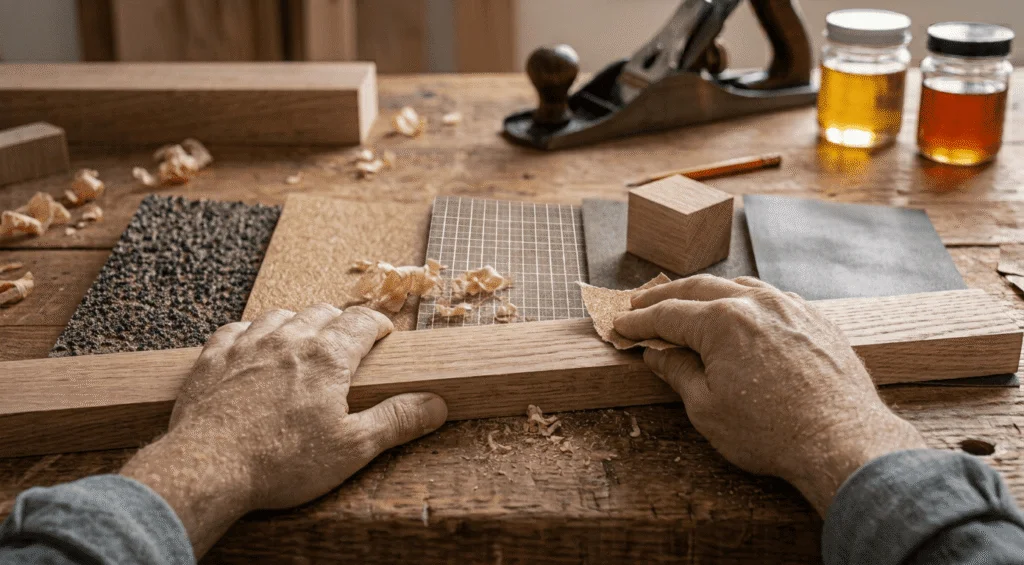
What Is Grit Size?
Grit size refers to how rough or smooth a surface of sandpaper or abrasive material is. It is measured by the number of tiny particles (called grits) on the surface. In simple terms, lower numbers mean rougher surfaces, and higher numbers mean smoother finishes. This is why understanding sandpaper grit sizes is important for any project.Understanding Grit Size in Simple Terms
- Coarse grit (low number): Removes material quickly and is used for heavy sanding
- Medium grit: Used for smoothing surfaces after rough sanding
- Fine grit (high number): Gives a smooth and polished finish
Why Does Grit Size Matters?
- Better Results: Using the right sandpaper grit sizes ensures a smooth and even finish
- Saves Time and Effort: The correct grit removes material efficiently without extra work
- Prevents Damage: Using very rough grit on delicate surfaces can cause scratches
- Improves Final Finish: The right grit size helps achieve the desired look, whether rough or polished
Simple Tip
Start with a coarse grit for heavy work and move to finer grits for a smooth finish. This step-by-step approach gives the best outcome for most projects. In simple terms, grit size plays a key role in how your project turns out. By understanding sandpaper grit sizes and using the right grits serving size, you can achieve cleaner, smoother, and more professional results.
Grit Size Chart Explained (Easy Reference Guide)
Understanding a grit size chart makes it much easier to choose the right abrasive for your project. Whether you’re working with wood, metal, or paint, knowing how sandpaper grit sizes work helps you get better and smoother results.
Simple Grit Size Chart
| Grit Range | Type | Use |
| 40 – 60 | Coarse | Heavy material removal, removing paint or rust |
| 80 – 120 | Medium | Smoothing surfaces and preparing for finishing |
| 150 – 180 | Fine | Light sanding and surface refinement |
| 220 – 320 | Very Fine | Pre-polishing and finishing work |
| 400+ | Extra Fine | Polishing and ultra-smooth finishes |
How to Read the Chart?
- Lower numbers (40–60):
Rough surface, used for heavy work and fast material removal
- Mid-range numbers (80–180):
Balanced sanding, helps smooth out rough surfaces
- Higher numbers (220+):
Smooth finish, ideal for polishing and final touches
The idea behind this chart is simple, the higher the number, the smoother the finish. Choosing the right level of sandpaper grit sizes ensures you don’t damage the surface while working.
Why Is This Chart Useful?
- Helps you pick the right grit quickly
- Saves time by avoiding trial and error
- Ensures better surface finishing
- Guides beginners in selecting the correct grits serving size for each step
Quick Tip
Start with a lower grit for rough work and gradually move to higher grits for a smooth finish. This step-by-step process gives the best results for most projects. In simple terms, a grit size chart is a quick and easy guide that helps you understand sandpaper grit sizes and choose the right grits serving size for your work, ensuring a clean and professional finish every time.
Simple Guide to Choosing Grit Size
- Start with the Surface Condition: If the surface is rough, painted, or damaged, begin with a lower grit (coarse). For smoother surfaces, start with a medium or fine grit.
- Know Your Goal:
- Removing paint or rust → Use coarse grit
- Smoothing surfaces → Use medium grit
- Polishing or finishing → Use fine grit
- Follow a Step-by-Step Process: Don’t jump from very rough to very fine. Move gradually through different sandpaper grit sizes for the best results.
- Consider the Material:
- Wood → Start medium, finish fine
- Metal → Start coarse if needed, then refine
- Painted surfaces → Start coarse, then smooth
Quick Reference
| Task | Recommended Grit |
| Heavy material removal | 40 – 60 |
| General sanding | 80 – 120 |
| Smoothing | 150 – 180 |
| Finishing | 220+ |
Common Mistakes to Avoid
- Using very rough grit on delicate surfaces
- Skipping grit levels during sanding
- Choosing the wrong grit for the material
Helpfull Tip
Always test on a small area first. This helps you confirm if the chosen grit works well for your project. In simple terms, choosing the right grit size is about matching the grit to your task. By understanding sandpaper grit sizes and selecting the right grits serving size, you can achieve smoother, cleaner, and more professional results.
Frequently Asked Questions
The right grit size depends on the condition of the wood and the finish you’re trying to achieve. For rough wood or removing old finishes, start with 60 to 80 grit. For general sanding, use 100 to 120 grit. Before staining or painting, finish with 180 to 220 grit for a smoother surface.
A higher grit number means a finer abrasive. Lower grit numbers, such as 40 or 60, remove material quickly and leave a rough surface. Higher grit numbers, such as 220 or 400, create a smoother finish and are typically used for final sanding or polishing.
CAMI and FEPA are two different grading standards for sandpaper. CAMI is commonly used in North America, while FEPA uses a “P” prefix (such as P120 or P220) and is widely used in Europe. At finer grits, the numbers don’t always match exactly, so it’s important to follow the manufacturer’s recommendations when replacing sandpaper.
For removing rust or smoothing rough metal, begin with 40 to 80 grit. For preparing metal before painting, use 120 to 220 grit. If you’re polishing stainless steel or other metals, continue sanding with 320 grit or higher, followed by polishing compounds if needed.
Before painting, most surfaces should be sanded with 180 to 220 grit sandpaper. This removes minor imperfections and creates enough surface texture for primer and paint to bond properly without leaving visible scratches.