48-Hour Home Hacks, 08/03/16
48-Hour Home Hacks brings you DIY projects to fit in your weekend schedule. Start your week with a boost when you complete those projects you’ve been putting on hold for a while.
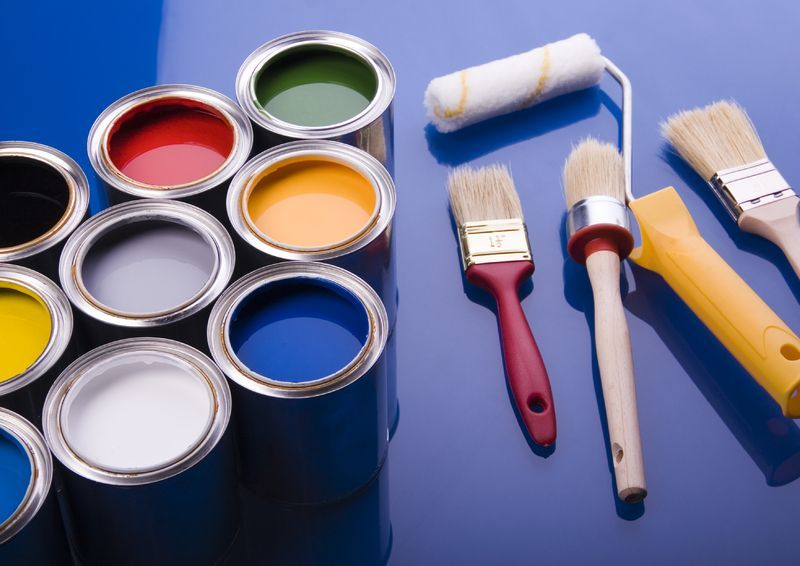
6-Step Prep, Then Paint
Admit it, we’re all guilty of the same charge. We start an activity without preparing first. This happens in all areas of life. We start cooking without getting all the ingredients and utensils out. We start a project without doing the research first. Sometimes we even shower and then realize we forgot the towel. Oops!
Preparation is key. As a general rule, you need to set a clear plan before moving into action. The same principle applies to painting your house. Check out these 6 steps to prep a room for painting.
1. Remove furniture
Put as much furniture as you can in the center of the room and cover it with plastic or drop cloths. This will protect your furniture from getting stained with paint.
2. Place drop cloths around the room
Ensure that it covers the entire floor to the wall’s edge. This will protect your floor or carpet.
3. Remove hardware that shouldn’t be painted on
Remove all switch plates and look around for any other hardware that you don’t want to get paint on.
4. Find a good light source
Use high intensity lights to focus them on the wall you will be working on. This will help you catch imperfections that need to be fixed before painting the wall.
5. Fix imperfections on the walls
(This is why you need the high intensity lights) Most people think paint smooths out a wall. However, this is not true. You need to take care of imperfections first if you want a perfectly painted wall. If you have a crack on your wall, you need to cut it out and then apply spackling compound. If you have a drill hole, you can go ahead and fill it in with the compound. If your wall has no particular imperfections, you can still use a low grit sandpaper to remove any residual material from the last painting. Similarly, you will need to smooth out the spackling compound with sandpaper.
6. Clean your walls
Use a damp rag, a tack cloth, or even a vacuum to remove dirt or dust from every surface you’re going to paint on. Your walls need to be completely clean for the paint to stick.

80 percent of the time you dedicate to a paint job is spent preparing the room. You may want to get the job done already and it may seem like you’re wasting your time, but it’s worth it in the end. If you prepare your walls correctly, the process of painting the wall will be much easier and the paint will actually stick to the wall.
We hope the 6-Step Prep is useful to you on your next painting project. Tell us, do you prep your wall before painting? Let us know in the comment section below.