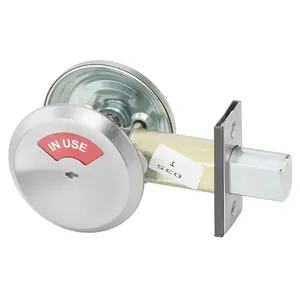
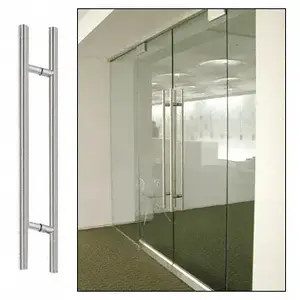
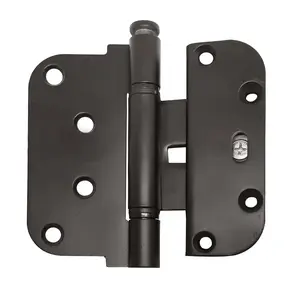
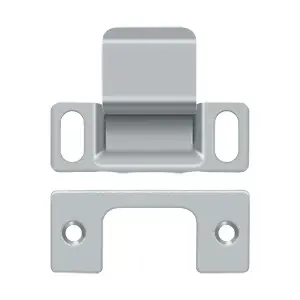
Summer is the perfect time to finally cross a few projects off your home improvement list. The weather is usually dry, the days are longer, and many outdoor jobs are simply easier to tackle before cooler temperatures and fall rain set in.
The best part? You don’t need a big budget or professional experience to make a noticeable difference around your home. A fresh coat of paint, new door hardware, or replacing old weatherstripping can improve how your home looks, feels, and performs in just a weekend.
Small maintenance issues have a way of turning into expensive repairs when they’re ignored. A cracked bead of caulk can let water seep behind your siding. Worn garage door hardware can lead to bigger repair bills. Even something as simple as a flattened door seal can make your air conditioner work harder all summer long.
Whether you have a free Saturday or an entire weekend to spare, these summer home improvement projects are practical, beginner-friendly, and well worth the effort.
Wondering what home tools and hardware should your utility box have? We’ve got you covered! Read Now
Key Takeaways
Take advantage of dry weather. Summer is the best time to paint, apply sealants, and complete other outdoor projects that need warm, dry conditions to cure properly.
Fix small problems before they get worse. Replacing worn weatherstripping, sealing gaps, and repairing loose hardware now can help you avoid bigger repairs later.
Use the right materials for the job. Exterior paints, sealants, and hardware designed for outdoor use will last longer and hold up better against heat, rain, and UV exposure.
Think beyond curb appeal. Many weekend projects also improve your home’s energy efficiency, security, and day-to-day functionality.
Pro Tip
Before starting any project, spend a few minutes walking around your home. You'll often spot loose hardware, cracked caulk, or peeling paint that can easily be fixed while you already have your tools out.
Best Summer Home Improvement Projects to Tackle This Weekend
Not every project needs to take weeks to finish. The ideas below are realistic weekend jobs that most homeowners can complete with basic tools and a little planning. They’ll help protect your home from summer heat and storms while keeping it looking its best.
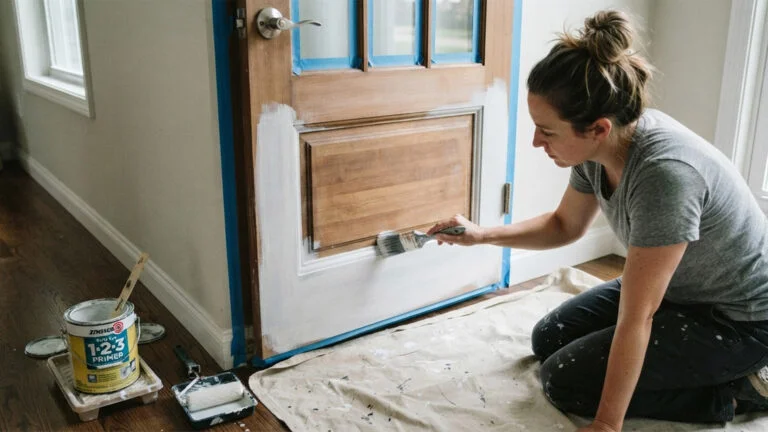
1. Repaint Your Front Door and Front Entry
Your front door is one of the first things people notice about your home. It also takes a beating from the sun, rain, and changing temperatures all year long. If the paint is faded, peeling, or chipped, a fresh coat can completely change the look of your entryway in just a day.
While you’re at it, take a close look at the trim around the door. Touching up peeling paint now helps protect the wood from moisture and keeps small problems from turning into bigger repairs.
What You’ll Need
Exterior paint
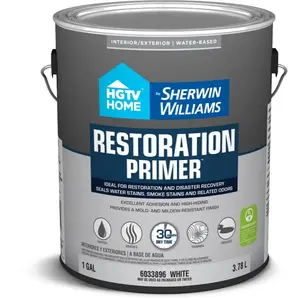
Exterior primer (if needed)
Angled paint brush
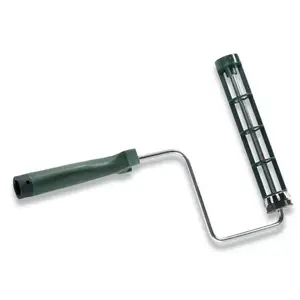
Foam roller
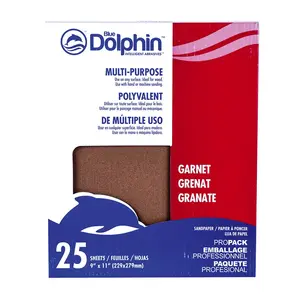
Medium-grit sandpaper
Painter’s tape
Drop cloth
Cleaning solution
How to Do It?
Remove the door hardware if possible and clean the entire surface.
Scrape away loose paint and lightly sand rough areas.
Prime any bare wood or exposed spots.
Tape off glass and surrounding trim.
Apply two thin coats of exterior paint, allowing each coat to dry completely.
Remember, if you’re replacing your door handles or lockset, do it after the paint has fully cured to avoid scratching the new finish.
Common Mistake
Painting in direct afternoon sun. High temperatures can cause paint to dry too quickly, leaving visible brush marks and an uneven finish.
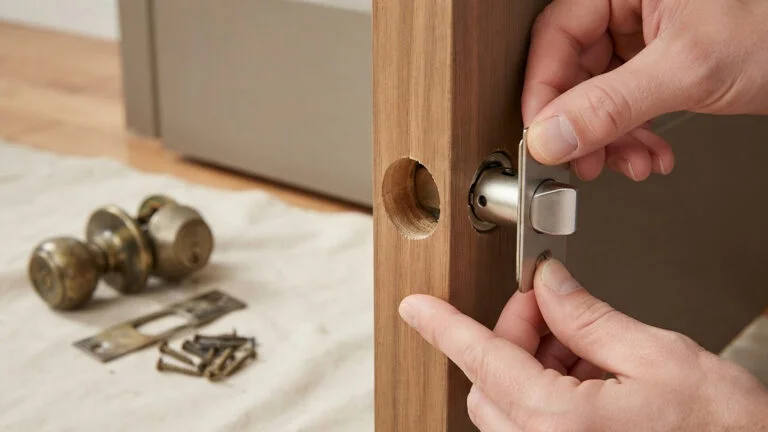
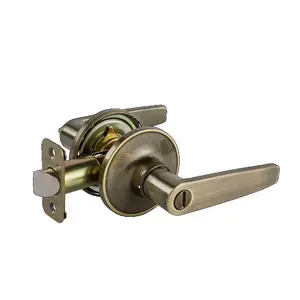
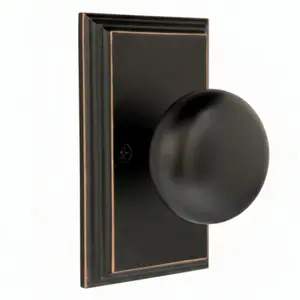
If your front door handle feels loose, sticks when you turn it, or simply looks outdated, replacing it is one of the easiest ways to improve both security and curb appeal.
Most homeowners can swap out a standard handleset in less than an hour using nothing more than a screwdriver.
Before buying new hardware, check your door’s backset and thickness so the new lockset fits properly.
How to Choose New Door Hardware?
Look for ANSI/BHMA Grade 2 hardware for most residential entry doors.
If you live near the coast or in a humid climate, choose finishes designed to resist corrosion.
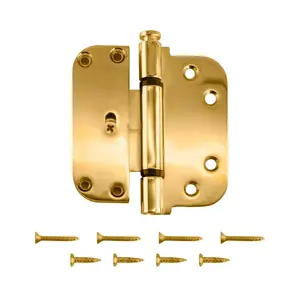
Match the finish with your existing hinges or replace them at the same time for a consistent look.
Front Door Hardware – Installation Steps
Remove the old handleset and latch.
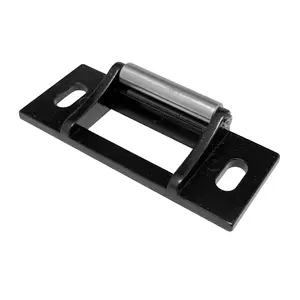
Install the new latch, making sure the beveled edge faces the strike plate.
Position the exterior and interior handles.
Tighten all screws evenly.
Test the latch several times before closing the door.
Common Mistake
Buying a new handleset without measuring the backset first. A few minutes with a tape measure can save you from making another trip to the store.
3. Replace Old Weatherstripping Around Doors and Windows
If your air conditioner seems to run constantly, worn weatherstripping could be part of the problem.
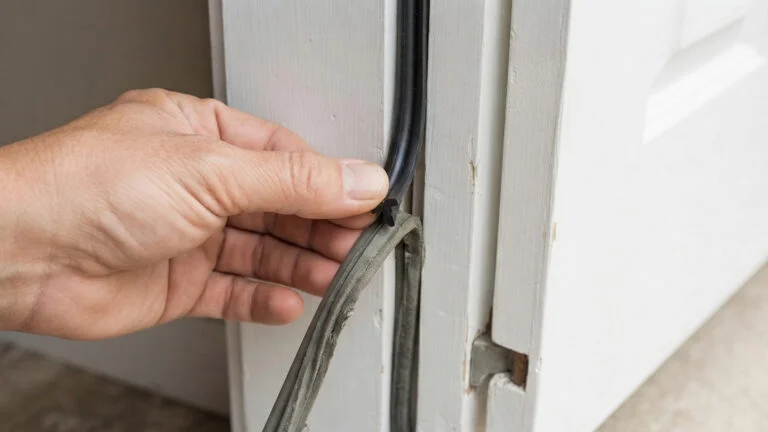
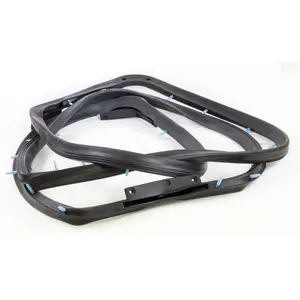
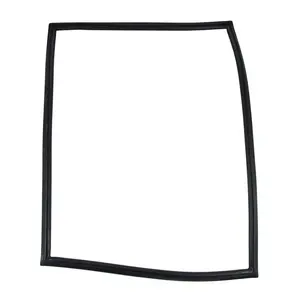
Over time, rubber and foam seals flatten, crack, or pull away from the frame, allowing cool air to escape and hot air to sneak inside. Replacing old weatherstripping is an inexpensive project that can improve comfort while helping reduce energy costs.
Check around:
Front and back doors
Sliding patio doors
Garage entry doors
Basement doors
Windows that receive direct sunlight
How to Replace Weatherstripping?
Close the door on a dollar bill. If it slides out easily without resistance, your weatherstripping probably needs replacing.
Remove the old weatherstripping.
Clean away dirt, old adhesive, and debris.
Measure each side of the frame.
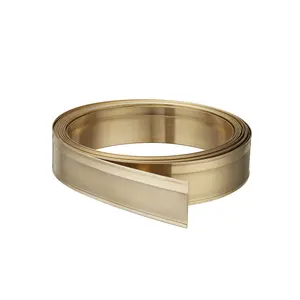
Cut the new weatherstripping to size.
Press or fasten it into place according to the manufacturer’s instructions.
Common Mistake
Stretching the weatherstripping while installing it. It can shrink back over time, leaving small gaps near the corners.
Wondering How to Insulate Glass Windows & Doors? Read Now
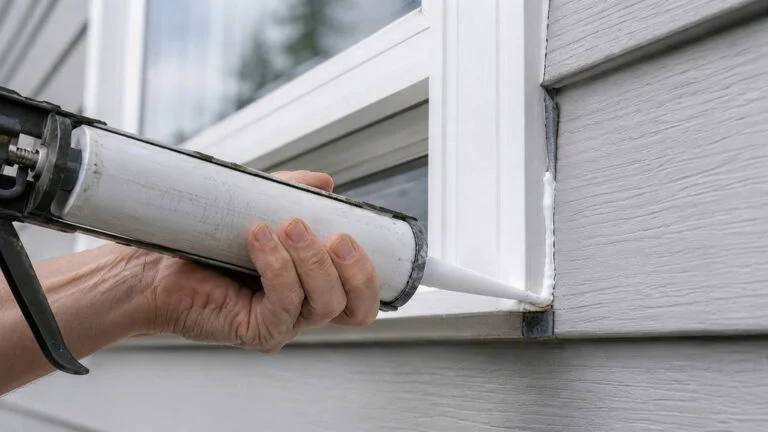
Caulk doesn’t last forever. Years of sunlight, heat, and changing temperatures eventually cause it to crack, shrink, or separate from the surface.
Those small gaps might not seem like a big deal, but they allow water to get behind siding and trim, which can lead to wood rot and expensive repairs over time.
Walk around your home’s house exterior and inspect the areas around windows, doors, vents, and exterior trim. If the caulk is cracked or pulled away, it’s time to replace it.
What You’ll Need?
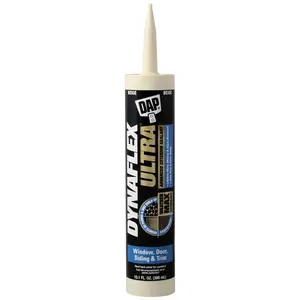
Exterior-grade sealant
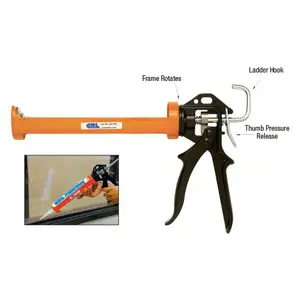
Caulk gun
Utility knife
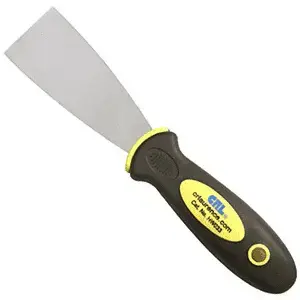
Putty knife
Rubbing alcohol or surface cleaner
Clean rags
How to Recaulk Exterior Joints?
Remove all of the old caulk.
Clean the surface thoroughly.
Apply painter’s tape if you want cleaner edges.
Apply a smooth, continuous bead of exterior sealant.
Tool the bead before it skins over and allow it to cure.
Be sure to plan this project for a dry day with no rain in the forecast so the sealant has plenty of time to cure.
Common Mistake
Applying new caulk over old caulk. It won't bond properly, and the repair won't last nearly as long.
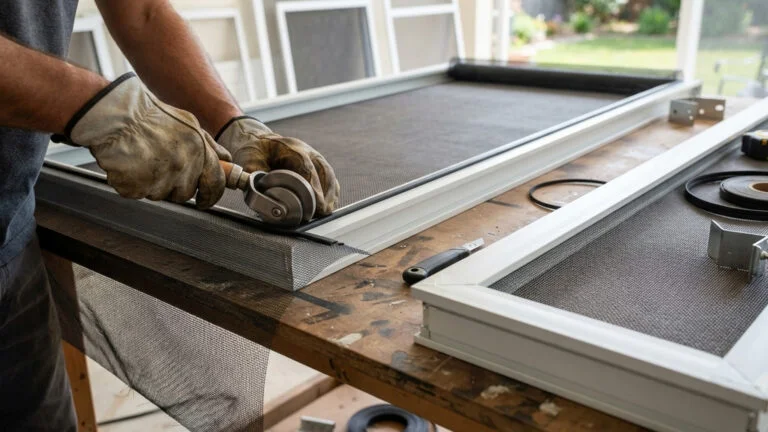
Nothing ruins a cool summer evening faster than opening the windows and letting bugs inside. If your window screens have tears, loose corners, or sagging mesh, now’s a great time to fix them.
The good news is you don’t have to replace the entire screen. In most cases, you can install new mesh in the existing frame in less than an hour.
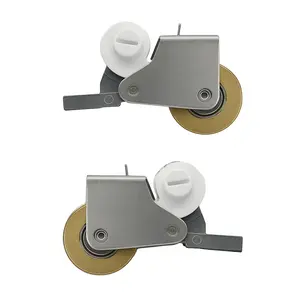
While you’re working, inspect the screen frame, rollers, and window hardware for signs of wear. Replacing a few small parts now can help your windows open and close more smoothly throughout the season.
What You’ll Need?
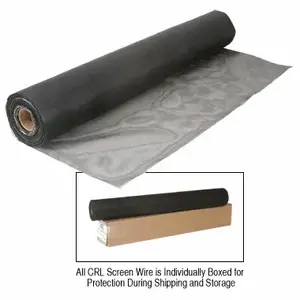
Replacement screen mesh
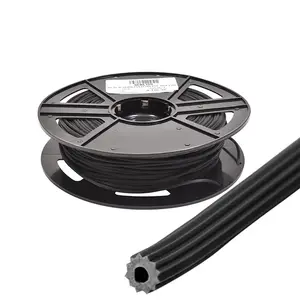
New spline
Spline roller
Utility knife
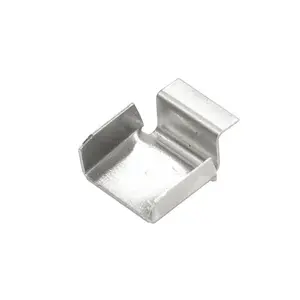
Replacement screen clips (if needed)
How to Repair a Window Screen?
Remove the screen from the window.
Pull out the old spline and damaged mesh.
Lay the new screen material over the frame.
Press the new spline into the groove using a spline roller.
Trim away the excess screen with a utility knife.
If one screen is torn, check the rest of the house while you have your tools out. Replacing several screens at once saves time.
Common Mistake
Pulling the screen too tightly before installing the spline. The spline creates the tension. If the mesh is stretched too much, the frame can bend.
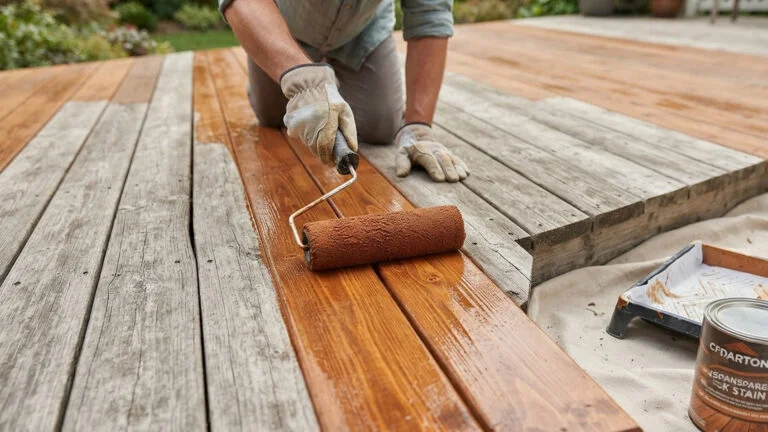
Your deck goes through a lot during the summer. Between hot sun, afternoon rain, backyard barbecues, and foot traffic, the wood takes a beating.
If water no longer beads up on the surface or the stain has started to fade, it’s time to give your deck some attention. A fresh coat of stain or sealer helps protect the wood from moisture and UV damage while bringing back its natural color.
This project usually takes a full weekend, but the results are well worth it.
Before You Start
Check for loose deck boards.
Tighten any exposed screws.
Replace damaged boards if needed.
Sweep away leaves and dirt.
Let the deck dry completely after washing.
How to Seal Your Deck?
It is ideal to start early in the morning so you can finish before the deck gets hot from direct sunlight.
Clean the deck using a deck cleaner.
Allow the wood to dry completely.
Sand rough or splintered areas.
Apply stain or sealer following the direction of the wood grain.
Allow plenty of drying time before putting furniture back.
Common Mistake
Applying stain to damp wood. Moisture trapped in the boards prevents the stain from soaking in properly and can cause peeling later.
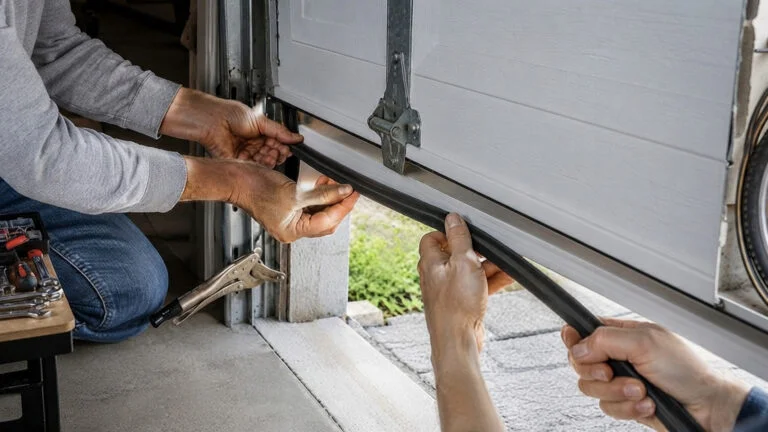
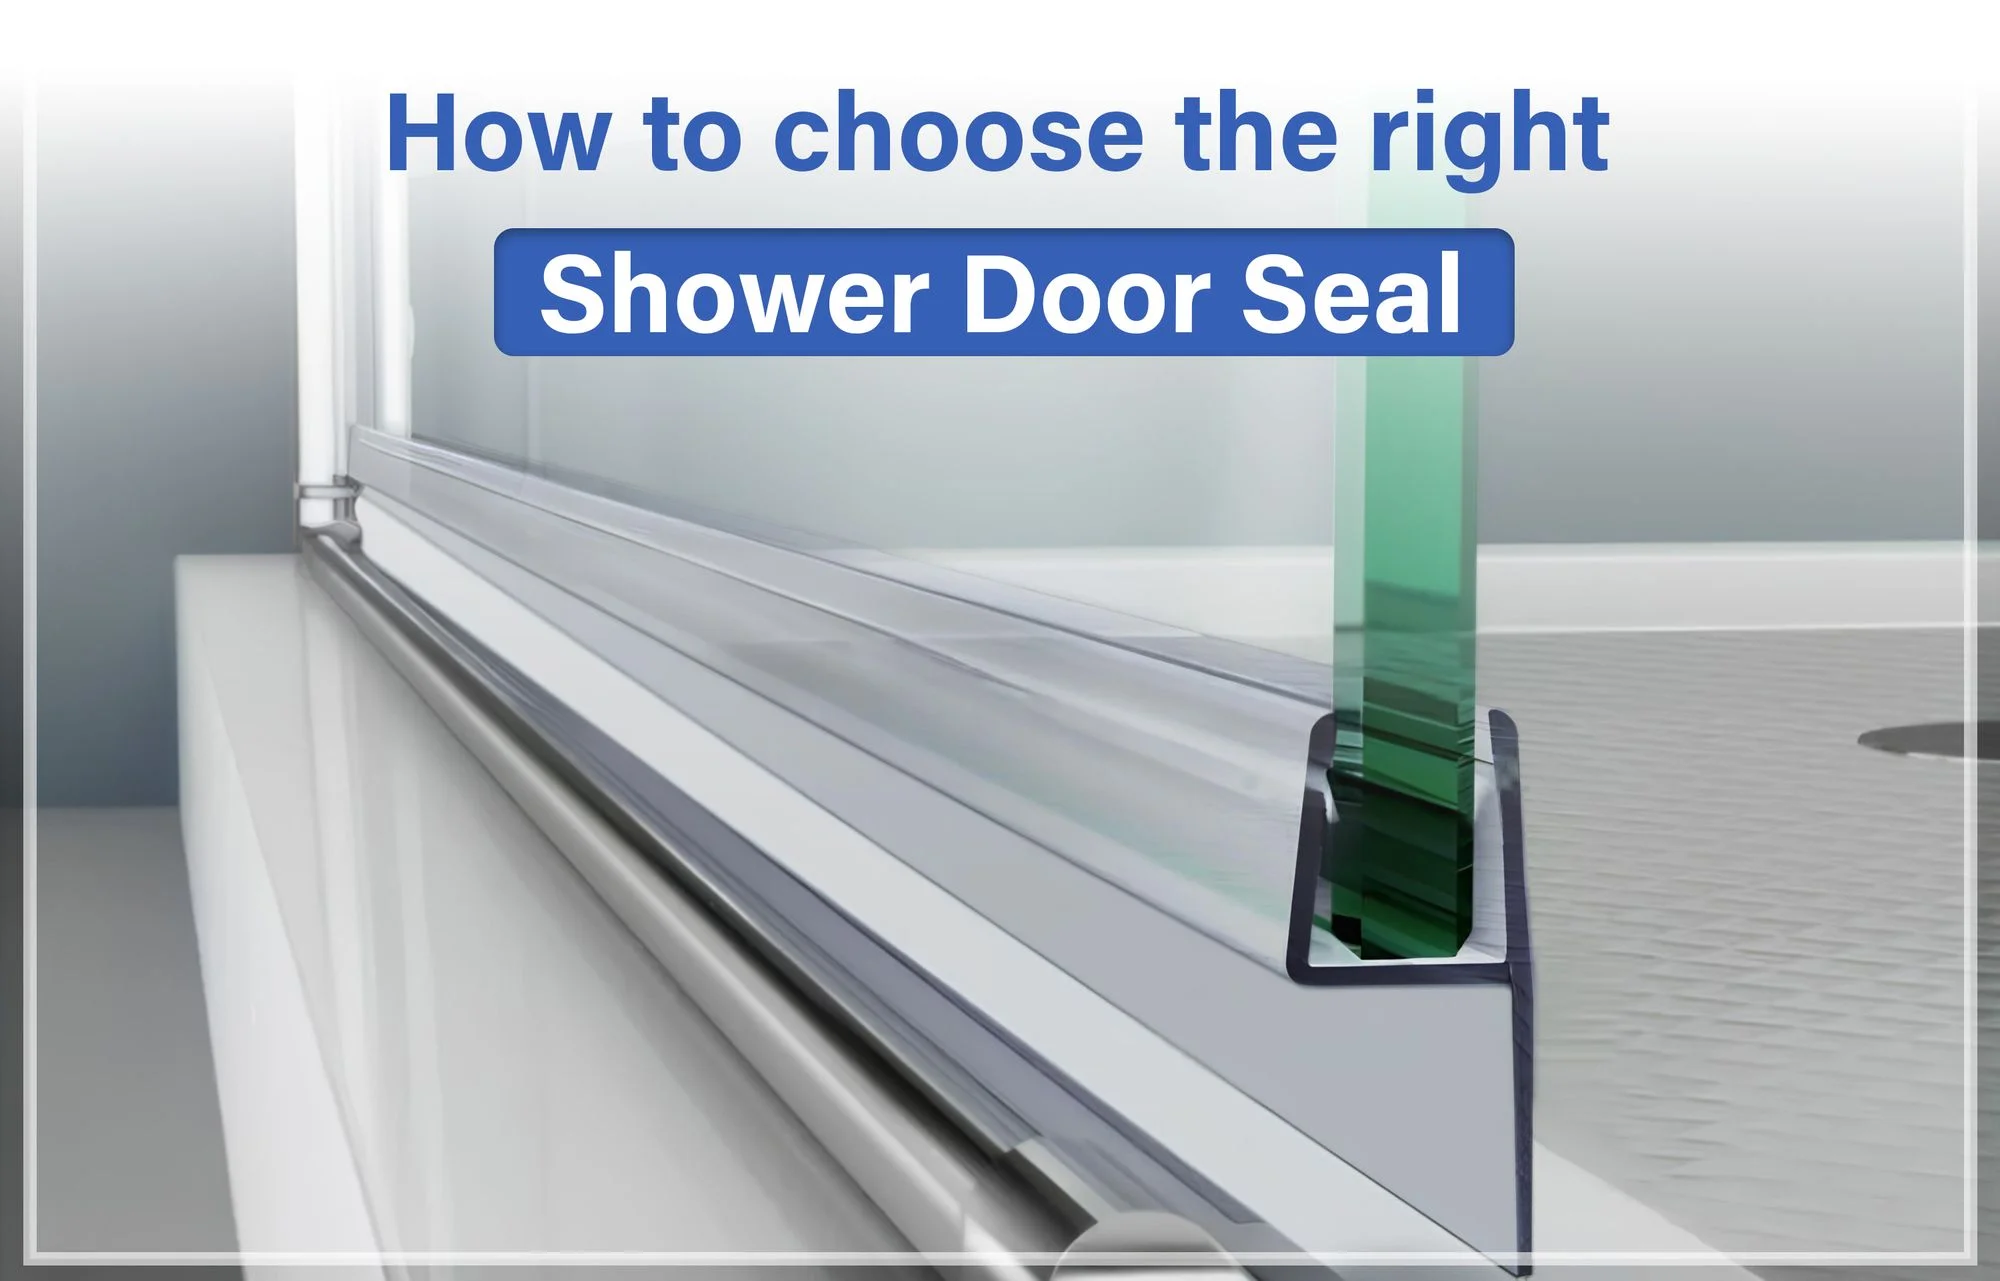
Your garage door does more than keep your car protected. It also helps keep out rain, dust, insects, and hot air.
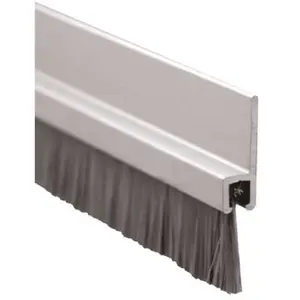
Over time, the rubber seal along the bottom of the door dries out, cracks, or tears. If you can see daylight underneath your garage door, it’s probably time for a new one.
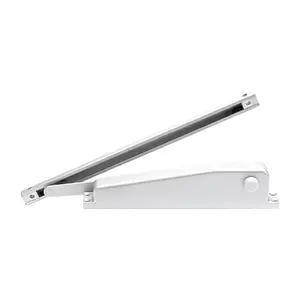
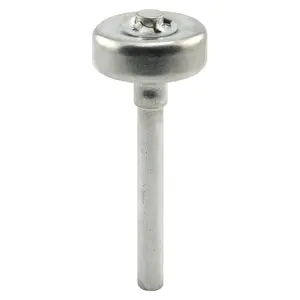
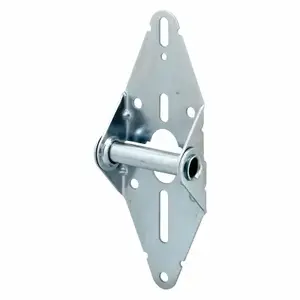
While you’re working on the seal, take a few minutes to inspect your garage door hardware, including the rollers, hinges, and tracks.
Signs It’s Time to Replace the Seal
Water gets into the garage after it rains.
Daylight is visible under the door.
The rubber feels brittle or cracked.
Bugs or leaves regularly make their way inside.
How to Replace It?
Raise the garage door and secure it safely.
Slide the old seal out of the track.
Clean the track thoroughly.
Lubricate the channel if needed.
Slide the new seal into place and trim any excess.
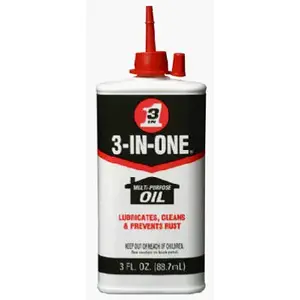
While the garage door is open, spray the rollers and hinges with garage door lubricant. It only takes a few minutes and can help reduce noise and wear.
Common Mistake
Cutting the new seal before it's fully installed. Install it first, then trim it for the best fit.
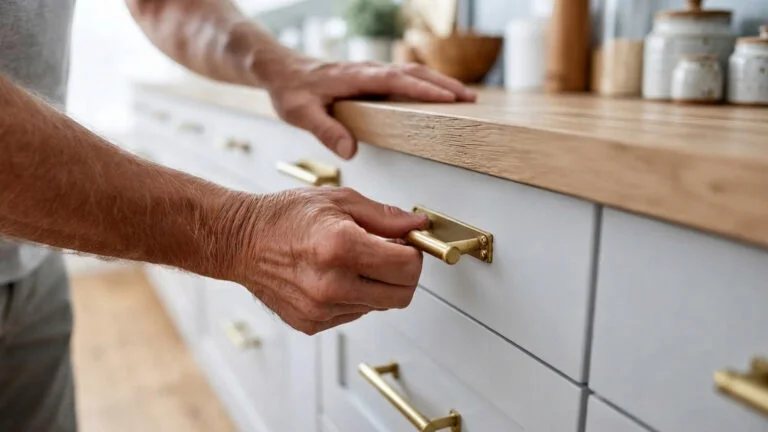
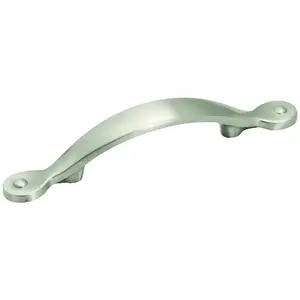
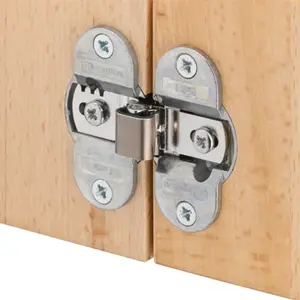
If your kitchen or bathroom feels dated, you don’t have to remodel the entire room to make it look better. Swapping out old cabinet knobs, pulls, and hinges is one of the easiest ways to give cabinets a fresh new look.
Most homeowners can finish this project in an afternoon, and it doesn’t require any special skills.
If you’re replacing cabinet pulls, measure the distance between the mounting holes before ordering new hardware. Matching the existing hole spacing means you won’t have to drill new holes or patch old ones.
What You’ll Need?
Cabinet pulls or knobs
Replacement hinges (if needed)
Screwdriver
Tape measure
Cabinet hardware template (optional)
Cabinet Hardware – Installation Steps
Remove the old hardware.
Clean the cabinet doors and drawer fronts.
Install the new pulls or knobs.
Replace worn hinges if necessary.
Check that every door and drawer opens smoothly.
Common Mistake
Buying new pulls without measuring the center-to-center hole spacing first.
Our Cabinet Hardware Placement & Sizing Guide helps to choose the right hardware for the right place.
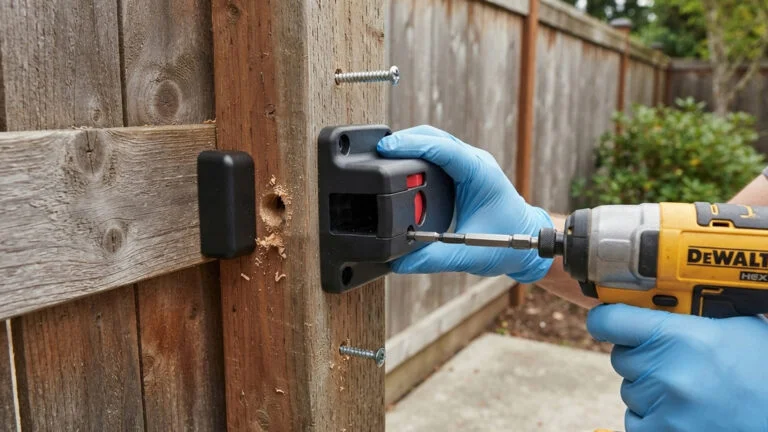
9. Replace a Worn Fence Gate Latch
Your fence gate probably gets more use than you realize. Between kids, pets, yard work, and taking the trash out, it opens and closes countless times throughout the year. Add rain, sun, and changing temperatures, and it’s no surprise that gate hardware eventually wears out.
If your gate sags, won’t stay closed, or takes a good shove to latch, replacing the latch and checking the hinges can usually solve the problem in an afternoon.
If you have a pool, make sure any replacement hardware meets your local building code requirements for self-closing and self-latching gates.
Signs It’s Time for a New Gate Latch
The latch sticks or won’t close properly.
Rust is causing parts to seize.
The gate swings open on windy days.
Screws have worked themselves loose.
The latch no longer lines up with the strike.
How to Replace It?
Support the gate if it’s sagging.
Remove the old latch and any damaged screws.
Position the new latch and mark the mounting holes.
Install the latch using corrosion-resistant fasteners.
Test the latch several times to make sure it closes securely.
If the gate has dropped over time, adjust or replace the hinges before installing the new latch. A properly aligned gate helps the latch last longer.
Common Mistake
Reusing rusty screws with brand-new hardware. Old fasteners can weaken the installation and start rusting again quickly.
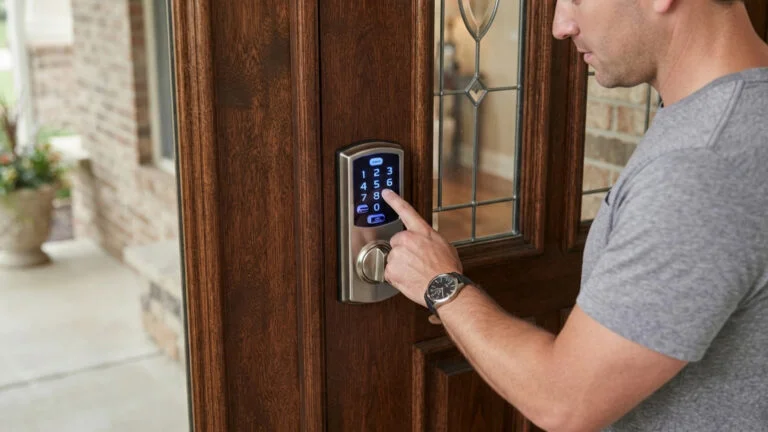
If you’re still hiding a spare key under the doormat or in a flowerpot, this might be the weekend to make an upgrade.
A keypad or smart deadbolt lets you unlock the door with a code instead of a key. It’s convenient for family members, guests, dog walkers, or anyone who needs temporary access without handing out spare keys.
Most smart locks fit standard residential doors and can be installed in less than an hour.
Before You
Make sure it fits your existing door thickness.
Check the backset measurement.
Choose a finish that matches your existing door hardware.
Decide whether you want Bluetooth, Wi-Fi, or keypad-only access.
Smart Door Lock – Installation Steps
Remove the existing deadbolt.
Install the new latch.
Mount the exterior keypad.
Attach the interior assembly and install the batteries.
Program your access codes and test the lock several times.
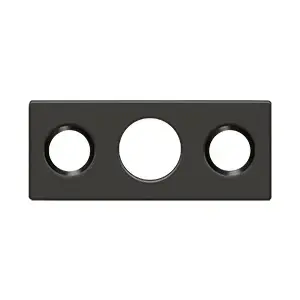
Replace the strike plate screws with longer screws that reach the wall framing. It’s a simple upgrade that can improve door security.
Common Mistake
Forgetting to check that the deadbolt moves freely before installing the smart lock. If the door is misaligned, even the best smart lock won't work properly.
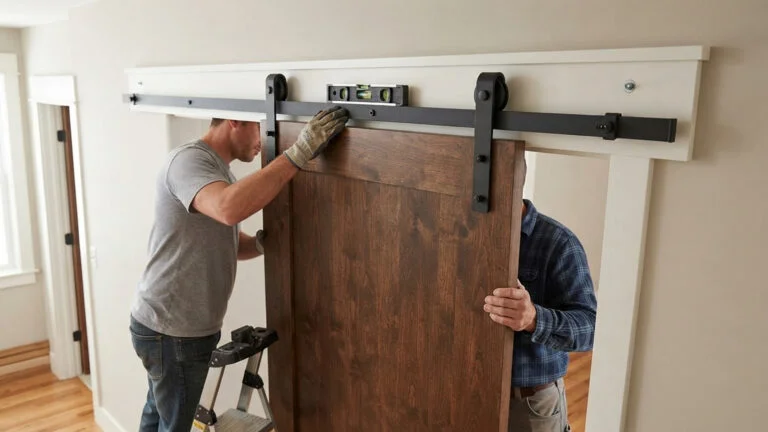
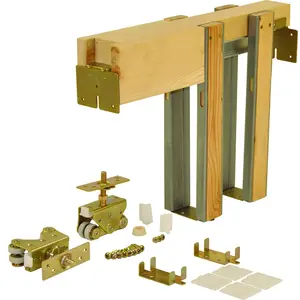
If you’ve been thinking about updating a laundry room, pantry, home office, or closet, a sliding barn door can completely change the look of the space without moving a single wall.
Besides adding character, barn doors save floor space because they slide alongside the wall instead of swinging into the room.
Many homeowners can install a barn door kit in a single weekend with basic tools.
Before You Start
Measure the doorway carefully.
Make sure the wall has enough space for the door to slide open.
Locate the wall studs before mounting the track.
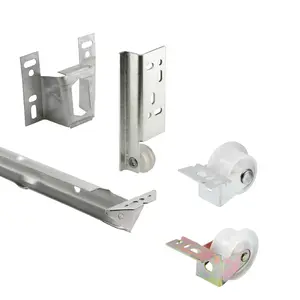
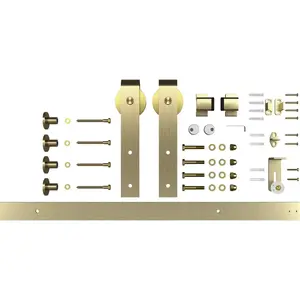
Choose hardware rated for the weight of your door.
Sliding Barn Door – Installation Steps
Install the header board if needed.
Mount the track securely into wall studs.
Attach the roller hardware to the door.
Hang the door on the track.
Install the floor guide and door stops.
Before tightening everything down, slide the door back and forth a few times to make sure it moves smoothly and clears the trim.
Common Mistake
Mounting the track into drywall instead of wall studs. Barn doors are heavy, and the track needs solid structural support.
What are the easiest summer home improvement projects for beginners?
Painting your front door, replacing weatherstripping, installing new cabinet hardware, and repairing window screens are all beginner-friendly projects that can usually be completed in a few hours with basic tools.
Why is summer the best time for home improvement projects?
Warm temperatures and dry weather create ideal conditions for painting, sealing, staining, and other outdoor repairs. Longer daylight hours also give you more time to finish projects over the weekend.
Which home improvement projects can help lower energy bills?
Replacing weatherstripping, sealing gaps around windows and doors, and repairing worn exterior caulk can reduce air leaks and help your cooling system run more efficiently.
How do I know which project to tackle first?
Start with repairs that protect your home from water damage or improve energy efficiency. Once those are taken care of, move on to cosmetic projects like repainting your front door or replacing cabinet hardware.
Final Words!
You don’t need a major renovation to make your home look better or work better. A few well-planned weekend projects can improve curb appeal, reduce maintenance headaches, and help prevent costly repairs down the road.
Start with the projects that solve the biggest problems first. Replace worn weatherstripping to keep your home cooler, seal cracks before summer storms roll in, repaint your front door to boost curb appeal, or swap out old door hardware that has seen better days. Each project on this list can be completed with basic tools, a little planning, and a free weekend.
As you work through your summer to-do list, choosing the right materials matters just as much as doing the job right. Whether you’re looking for paint supplies, sealants, weatherstripping, garage door hardware, or replacement hardware for your doors, windows, and cabinets, having the right products from DK Hardware on hand can help your repairs last longer and make every project a little easier.